When discussing hydroponic farming for newbies, an essential but frequently forgotten aspect is getting your plants started.
High-yielding plants need good seeds and the right conditions for the seeds to grow into strong, healthy seedlings.
And while the germination of seeds and seedlings can be pretty straightforward, there are certain pieces of equipment you need, terminologies you need to know, and procedures you need to follow to get the best results.
In this article, we’ll talk about the growing systems, the germination process, and the steps involved in transplanting seedlings into containers.
Let’s get started.
Equipment and materials needed to germinate seeds
In our experience, some equipment makes the process a whole lot easier.
After reading these recommendations, we’re positive you’ll feel the same way.
A Seed Tray
For starters, you’ll need a germination tray (seed tray) or any container capable of holding water.
Most growers use a humidity dome (a plastic lid that fits the seed tray) because it has been shown to increase the germination rate.
When shopping for a humidity dome, ensure it has holes in the tray or the humidity dome, as this will provide adequate ventilation for your hydroponic seedlings during germination.
We personally keep it very simple with something like this:
Heating Mat
A heating mat’s primary purpose is to keep your seeds warm and moist while germinating, so they can grow into strong, healthy seedlings.
Late winter and early spring are ideal for germinating seeds in many regions, but the temperatures in some colder regions are simply not constant enough to ensure germination in many places.
And while it is recommended that you keep seed trays near a window with enough sunlight, keep in mind that windows can get quite cold at night during the spring.
Heat mats, however, provide your seeds with the right amount of heat.
We really only recommend these if your temperatures constantly dip below freezing (Not for you Floridians!)
Starting Medium (Starter Plugs)
Hydroponic seeds need a growing medium, just like regular plants do.
Common choices for this purpose include cubes of Rockwool, coco coir, and other similar growing areas.
These grow cubes are also known as starter plugs.
They’re made of a spongy material that can absorb air and liquid. In addition, each cube has a hole where you can plant your seed.
Seedlings grown in cubes or starting plugs can be transplanted directly into their permanent locations without having to be dug up beforehand.
- Rockwool Cubes: Rockwool cubes are an excellent choice for those using a closed-off starter system and looking to give their roots more oxygen. These cubes have adequate area for new roots to develop before being transplanted into larger containers, and they come with pre-drilled holes for ease of use. They also let water drain well, preventing root rot from happening when there is too much water on the growing medium’s surface.
- Coco Coir: Hydroponic media such as coco coir eliminate the need to constantly monitor water levels because of the material’s ability to store and release water as needed. Coco coir is an excellent choice for germinating seeds if you want to use something natural and long-lasting.
You don’t need to overcomplete this here, choose something simple like the option below and be on your way.
Netcups
Using Rockwool cubes, you will need several small net cups to hold them in place.
Or, you may try finding specialized trays with little compartments for your cubes or plugs.
If you used our recommendation above, you could skip this portion for germination, as the trays are individualized.
Nutrient Solution
There are different kinds of nutrients for starting seeds.
One option (and our go-to) is to use regular hydroponic nutrients diluted to half their normal strength.
Another option is to use specific nutrients for starter seeds.
Many different brands are available, each with its unique formula of nutrients and chemicals specifically designed to promote root development and seed germination.
Grow Lights
Growing with artificial light sources is optional.
Artificial lights can be omitted entirely during the summer months if the grow tray is placed in a location that receives enough sunlight.
However, if natural light is unavailable, a grow lamp large enough to illuminate the entire tray’s surface should be used instead.
The best way to germinate seedlings in a hydroponic system
Many growing mediums can help seeds sprout, but for the rest of this article, we’ll use Rockwool as an example.
Rockwool is very popular because of its high ability to absorb and retain water.
This non-natural growth medium is created by heating and spinning particular silica-based ingredients into thin threads.
It’s made using the same method as roofing insulation; therefore, it needs to be handled with the same care in mind.
Rockwool provides an excellent material with a near-ideal oxygen-to-water ratio and a pH unaffected by oxygen’s presence.
It often comes in 1-inch cubes or plugs—the perfect size for germinating seeds.
The smaller plugs work well in NFT, drip, and marine culture systems, and they’re also great for transplanting into other growing mediums.

Hydroponic seed germination: Step-by-step instructions
Step 0 (Do This Before You Start!!)
First and foremost, sort your seeds.
You can tell which seeds are worth your time and energy by giving them a brief visual inspection and a simple pinch test.
Discard any bad seeds, such as those that are too little, the wrong color, or have chips or scrapes.
Choose your best seeds, and then, last but not least, pinch a few of them to make sure they’re solid and won’t fall apart.
Here’s a detailed guide on how to germinate seeds in a hydroponic system:
Step 1: Prepare your growing medium.
First off, consider your container’s size.
It has to be big enough to house the wet cubes so that there’s enough room for the plants to expand as they soak.
Seeds may have trouble sprouting when submerged in water for long periods.
The seed should be placed at a height that allows water to be transported up the cube to the seed while allowing air to flow freely above the cube.
Distilled water can be used to germinate hydroponic seedlings early on.
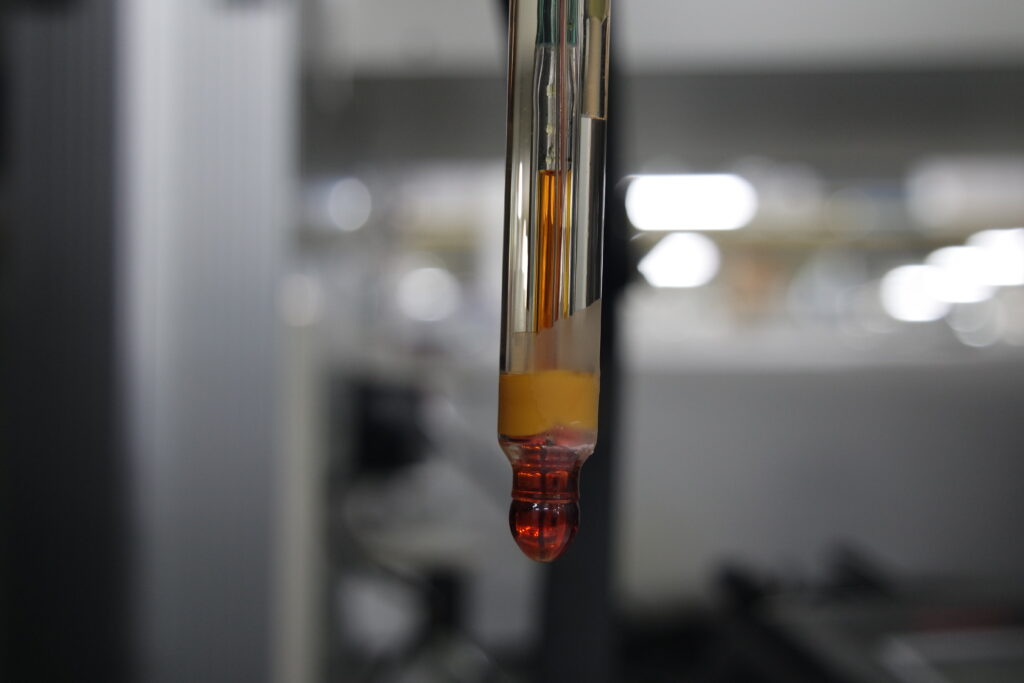
Once the water for germination has been added to the container, the pH levels must be checked to ensure they are within a specific range.
Some farmers advise using diluted or weaker hydroponic (fertilizer) solutions on seeds at this point (like the one we recommended above).
Using a pH meter, determine the optimal pH range for your water and adjust the pH to 5.5–6 using a liquid solution.
If it’s higher, don’t let it drop below 5.5, as doing so can harm the Rockwool.
After filling the container with water, immerse the beginning cube for at least one hour to absorb the water.
Hydroponic planting is ideal in cubes because they maintain the proper amount of humidity and air circulation and can retain their moisture for several days even if you don’t add any water.
However, be careful not to squeeze them too tightly, or they will become deformed.
Expert Tip: If you are pre-soaking your cubes in pH-neutral water before transferring them to another tray, you should not dispose of the water, and it should be kept in a bucket with a tight lid so you can use it to water your seeds later.

Step 2: Planting the seeds
You can purchase cubes that already have holes or drill a hole in the top of your cube to a depth of around a quarter of an inch.
Just drop a couple of seeds, and you’re good to go!

They won’t fall out of the hole if you gently push them in with your finger or another non-pointy object.
Finally, place some excess Rockwool over the seed and press down to cover and secure it.
Now you’ll need to secure the lid on the storage unit.
For this, you’ll need another tray of the same size or one that can sit over the first without pressing down on the cubes.
(Again, the recommendation we made earlier came with this lid, which makes things 10x easier).
The optimal temperature for seed germination is 68 degrees Fahrenheit, which is the temperature you should try aiming for in the container.
Again, if it’s too cold, you can use the recommended heating mat from above to keep your trays warm.
Temperature matters less and less as the seeds germinate, so pay extra attention early and then ease off.
Step 3: Examine the water levels
Hydration and a conducive environment for enzyme activity are both dependent on the presence of water throughout the germination process.
You can water your plants gently using an overhead mister or a sub-irrigation method (which involves applying water directly to the growing medium’s surface).
Use distilled or reverse-osmosis water for your seeds, so you don’t get contaminants into your growing medium.
Once you’ve grown your seeds in Rockwool, you should regularly examine the water level.
And once you notice a drop in your water levels, top it off using the water you set aside in step 1 (the nutrient-dense re-used water!!)
Step 4: Adequate lighting
When starting seeds indoors, it’s crucial to have access to a reliable light source.
Seeds germinate more quickly and easily if planted in a sunny location, where they can take advantage of natural light and warmth.
When working near a window, you may occasionally need to switch the trays around, so they are not angled directly into the sun.
If you’re using natural light, three hours a day should be sufficient, whereas if you’re using artificial light, such as fluorescent lights, you’ll need five.

Your seedlings could eventually require up to 15 hours of light per day as they develop.
Pay close attention to them, and build a relationship early on with your plants that you can carry through to harvesting.
In this case, the absence of sunlight is the biggest problem with using natural sunlight from the window.
If neglected for too long, lack of sunshine can cause plants to wilt and eventually fall over.
A practical solution is to use overhead grow lights and sunlight, which simulate the sun’s rays for up to 15 hours daily.
Given their position above the plant, they will avoid leaning to one side.
Plants with unrestricted access to light will thrive and develop to their fullest potential.
Keep in mind that the seedlings might easily be scorched if the grow lights aren’t placed reasonably far from the top of the container (depending on the type of light).
You’ll need to move your grow lights higher as the seedlings develop (they grow upwards).
Final step: Transplanting the seedlings
When you observe roots beginning to protrude from the cube of growing material, it’s time to transplant your seedlings.
The germination period can take about two to three weeks, depending on the type of plant.
Be sure to keep your seedlings well-watered until they begin to germinate.
After a while, your seedlings start to become stronger.
In the early stages of hydroponic seed germination, it is not uncommon for many seeds to sprout from a single hole.
Even though it might be tempting to transplant only a few of the seedlings, doing so can hurt the health of the rest of the seedlings and their root systems if the roots are pulled out too soon.
Carefully take the cubes out of your grow tray when they are ready.
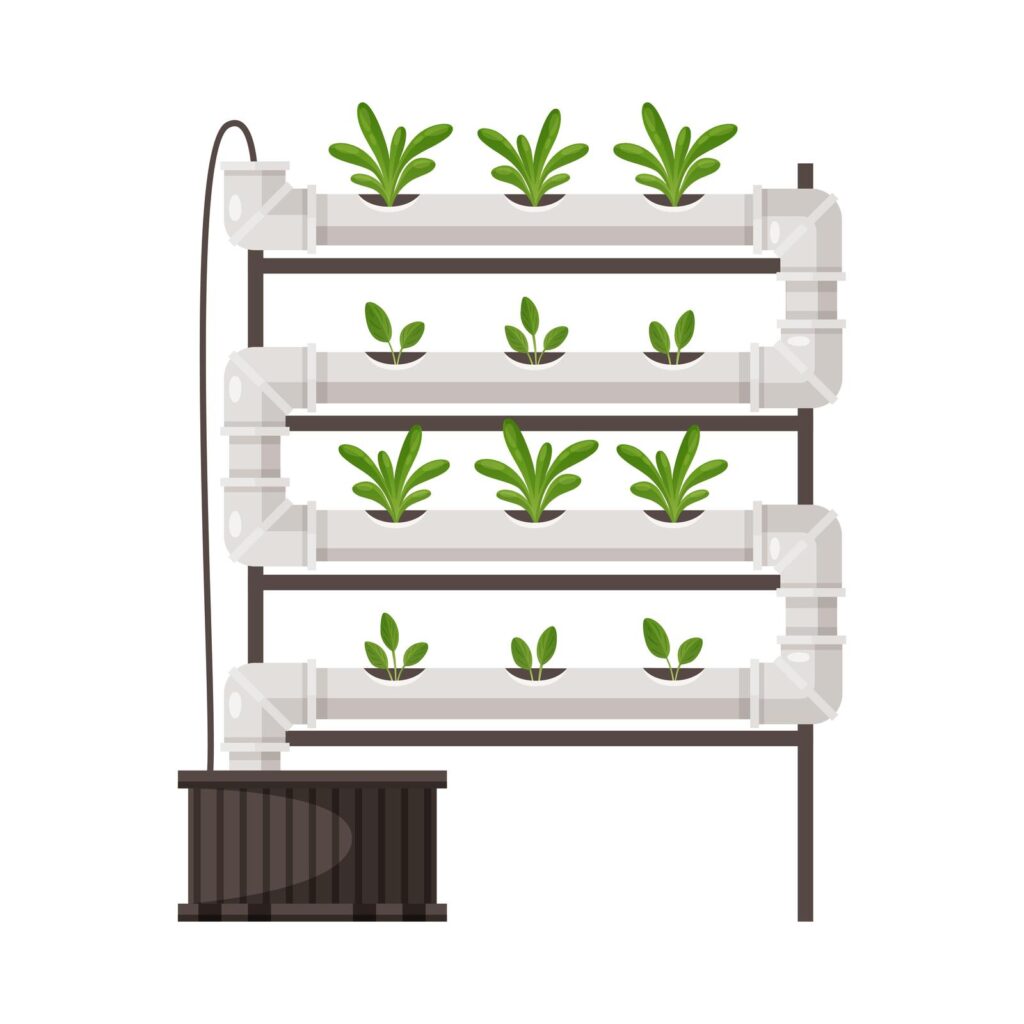
By now, you ought to have a fully functional hydroponics setup.
Moving the Rockwool cube and the entire plant to your hydroponic garden will free up valuable space in your hydroponic system, allowing you to start cultivating your seeds.
Cover the cube gently with an extra growth medium.
Water the seedlings from above for the first few days with a nutrition mixture.
Doing so will stimulate the growth of new roots in the nutrient-rich soil below.
And there you have it!
Now that your seedlings have germinated, your hydroponic system can begin producing healthy, mature plants – even at a profit!
Final Thoughts & Wrap Up
Hydroponic seed germination can appear complicated initially, but it’s pretty easy if you follow the instructions.
Starting from seeds is undoubtedly less expensive and provides you with more flexibility.
It’s also a lot more fun than going out and buying seeds from a nursery.
The best part is that it doesn’t cost much or take much work.
You only need a little space that can serve as a nursery and a few essential pieces of equipment.
Relevant Viewing For Our Visual Learners:
Ready to jump in with your hydroponic garden and start growing some REAL PLANTS?
Check out
- Best Hydroponics System For Vegetables
- Best Hydroponics System for Strawberries
- Best Hydroponics System For Lettuce